 Save
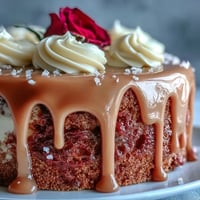
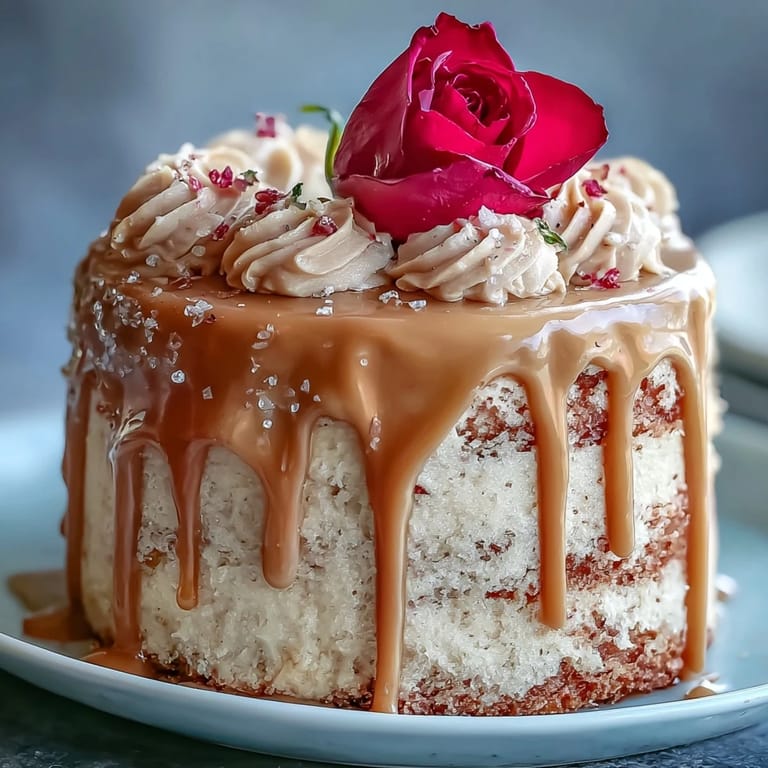
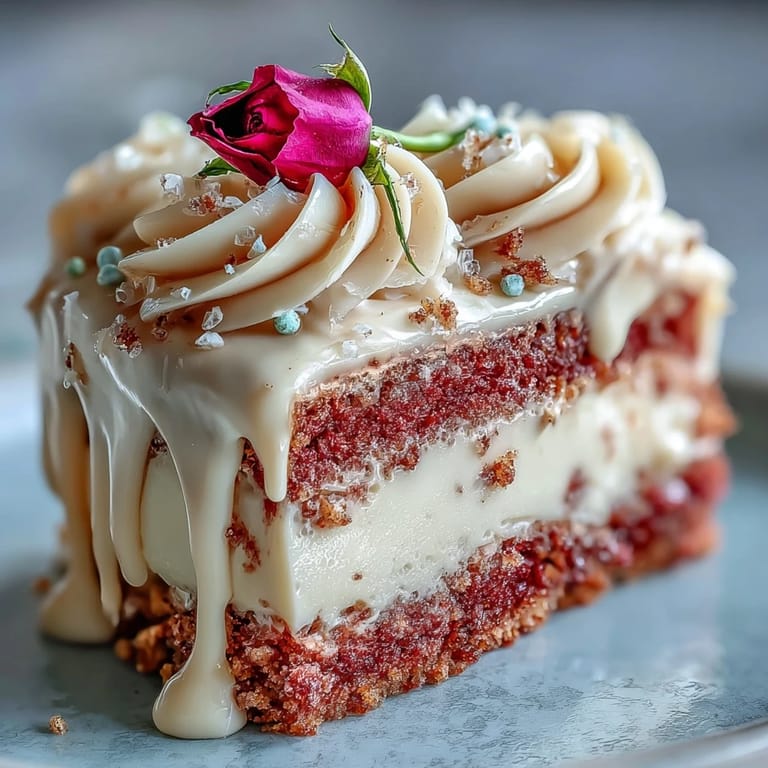
Save There&39;s a certain thrill when a cake turns out as breathtaking as it tastes, and the scent of vanilla and rosé filling my kitchen is now my secret ingredient for instant celebration vibes. That first time I tackled this Rosé Velvet Cake, my cat chose to perch right beside the mixer, eyes wide, as if she sensed something particularly special was about to emerge. Slightly nervous about the gold drip, I replayed a few baking tutorials in my head, picturing showers of golden shimmer for a magical bridal moment. My favorite part Versatility: this cake is equally at home at sophisticated gatherings and impromptu afternoons with friends, rosé glasses in hand. Forget waiting for an occasion – sometimes you just need a good excuse for gold in your dessert.
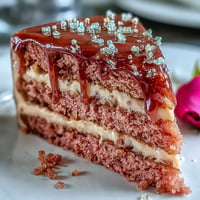
I&39;ll never forget my best friend&39;s surprise as I carried the finished cake into her bridal shower – shimmering gold, delicate blush layers, and that sparkle in her eyes. As we sliced through the pink velvet, laughter erupted over who would get the biggest slice of gold (spoiler it was the bride!).
Ingredients
- All-purpose flour: Provides the cake&39;s soft yet sturdy base; sift it for ultra-tender crumb.
- Granulated sugar: Sweetens and helps hold moisture; always aerate by scooping and leveling.
- Baking soda: My not-so-secret for a light, tall rise every time.
- Fine salt: Balances the sweetness; look for a finer grind so it blends evenly.
- Cocoa powder (unsweetened): Adds subtle flavor depth without overpowering the blush hue.
- Vegetable oil: Brings lasting moistness; neutral in flavor for the rosé to shine.
- Eggs, room temperature: For an even, velvety texture – don&39;t rush the warming-up.
- Buttermilk, room temperature: Tenderizes and gives a gentle tang; room temp is truly worth the wait for smooth batter.
- Rosé wine: Use dry or sparkling for a perfectly aromatic crumb; don&39;t be afraid to sample a splash first.
- Vanilla extract: Marries the flavors and rounds out the wine&39;s floral notes.
- White vinegar: Interacts with cocoa for extra tender cake – subtly boosts the pink, too.
- Pink or rose gel food coloring: For that classic dreamy hue; start small, as a little goes a long way.
- Unsalted butter, room temperature: Whips up ultra-fluffy buttercream if softened properly.
- Powdered sugar, sifted: Sifting eliminates lumps for the silkiest frosting.
- Rosé (for buttercream): Infuses another layer of subtle flavor and a touch of grown-up fun.
- Edible gold luster dust & vodka or clear lemon extract: For the showstopping gold drip; make sure it&39;s food-grade!
- White chocolate chips & heavy cream: Combined, they create a smooth drip base that holds the gold perfectly.
Tired of Takeout? 🥡
Get 10 meals you can make faster than delivery arrives. Seriously.
One email. No spam. Unsubscribe anytime.
Instructions
- Prep your cake pans:
- Grease three 8-inch pans and line with parchment paper so your layers unmold like a dream.
- Mix dry ingredients:
- Give flour, sugar, baking soda, salt, and cocoa a good sift; let your hands feel the powder go feather-light.
- Blend the wet mix:
- Whisk oil, eggs, buttermilk, rosé, vanilla, and vinegar in another bowl; watch it turn creamy with a soft wine aroma.
- Marry and color:
- Combine wet and dry mixtures just until smooth, then swirl in food gel to reach your perfect rosy hue.
- Bake the magic:
- Pour into pans, tap gently to release air bubbles, and bake for 30-35 minutes – enjoy the sweet floral scent as it rises.
- Cool off:
- Let cakes rest in their tins, then invert onto a rack and let them chill completely (very important for a neat finish).
- Make the buttercream:
- Beat butter until fluffy, then add powdered sugar in stages; finish with rosé, vanilla, and a pinch of salt until irresistibly creamy.
- Assemble like an artist:
- Level cakes if needed, then layer with buttercream; crumb-coat for smoothness, chill briefly, and frost with a dreamy final layer.
- Create the gold drip:
- Melt white chocolate chips and cream together, then cool – meanwhile, mix luster dust with vodka for a quick edible paint.
- Finish in style:
- Drizzle cooled white chocolate over edges, let drip set, then use a food-safe brush to paint each drip gold, pausing to admire your edible artwork.
- All the pretty extras:
- Scatter extra gold, rose petals, or berries over the top if you&39;re feeling fancy – you&39;re party-ready!
 Save
Save 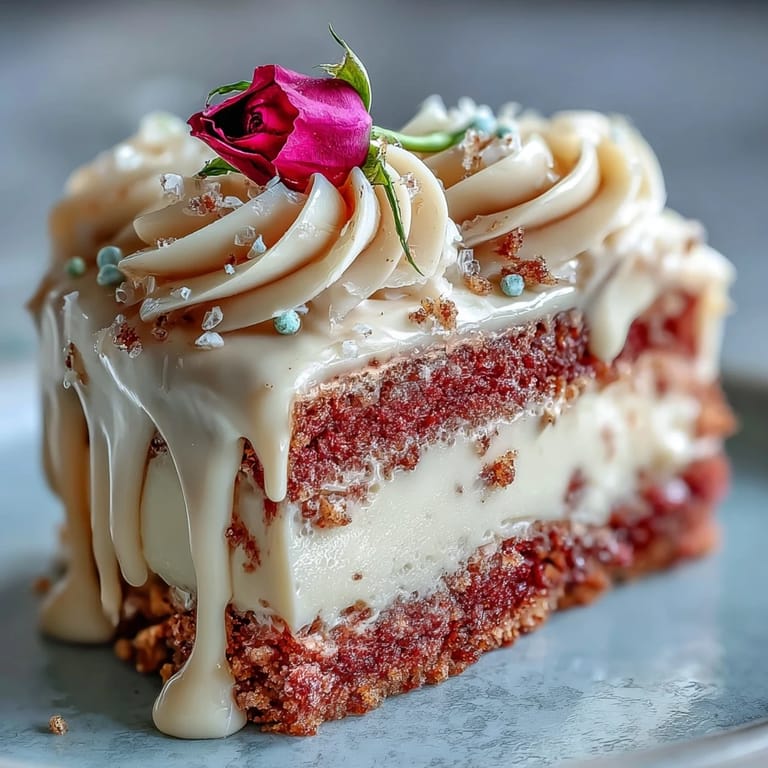 Save
Save The gold shimmer glinting in the afternoon sun caught more than one guest&39;s eye, and suddenly the cake table became the unofficial photo booth. One cousin called it too pretty to eat – but that didn&39;t slow down a single fork when the slicing began.
Sourcing the Right Rosé
If you can, pick a dry rosé with a pale pink color for both taste and hue. It doesn&39;t have to be expensive; the subtle fruitiness matters most, so sample a sip before it goes in the mixing bowl.
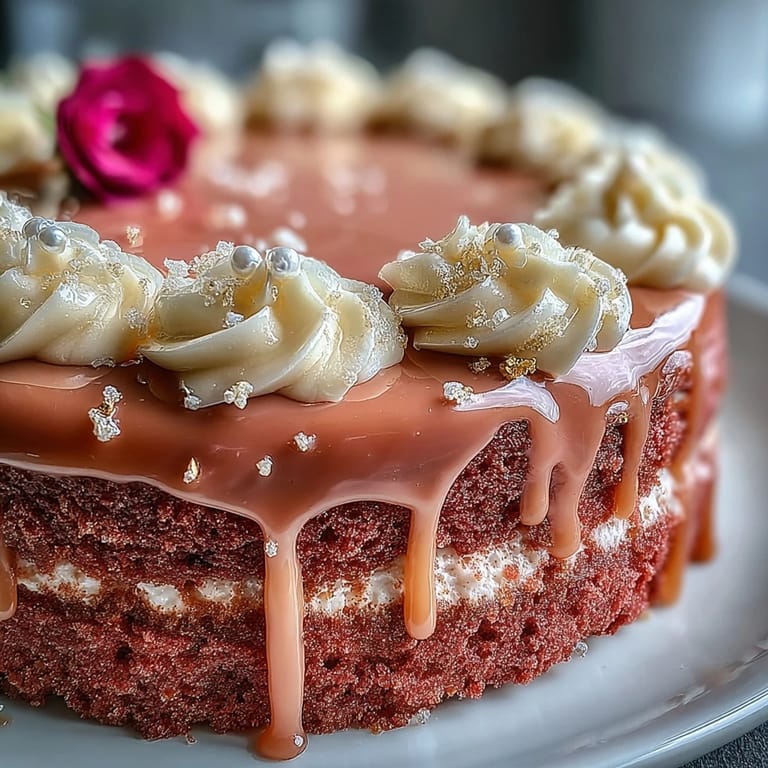
Nailing the Gold Drip
Edible gold dust can be tricky – mix with just enough vodka or extract to loosen it without making it runny. Brushing over set white chocolate means the shimmer stays put, letting those painted drips gleam just right.
Handling Layers with Confidence
Take your time leveling your cake layers; a wobbly stack can be fixed with an offset spatula and a steady hand. Stack with intention, rotate for smooth sides, and don&39;t be in a rush when it comes to chilling between steps.
- Use a serrated knife for the neatest layer cuts.
- Clean your spatula between smears for a pro finish.
- Don&39;t skip the crumb coat a little patience prevents messy gold drips.
 Save
Save 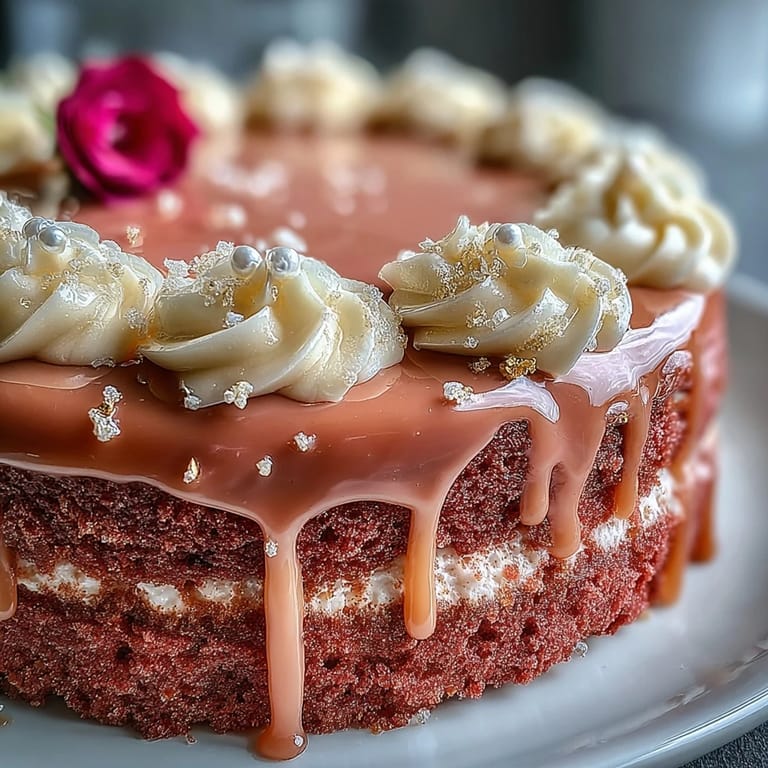 Save
Save Each time I make this cake, I remember the delighted surprise it brings – it&39;s proof that something beautiful, golden, and a bit whimsical can add sparkle to life&39;s sweetest milestones.
Recipe FAQs
- → Can I omit the alcohol without losing flavor?
Yes. Replace rosé with equal parts nonalcoholic sparkling rosé or pink grape juice mixed with a teaspoon of lemon juice or white vinegar to mimic acidity. Adjust sweetness and liquid to maintain batter consistency.
- → How do I ensure even layers and flat tops?
Weigh batter for each pan or divide evenly, tap pans to release air, and rotate in the oven if needed. After cooling, level with a serrated knife or cake leveler for uniform stacks.
- → How can I keep the buttercream stable when filling and frosting?
Beat butter until light, add powdered sugar gradually, and chill briefly if buttercream becomes too soft. Adjust firmness with more sugar or a splash of rosé; chilling between layers firms up the filling and prevents sliding.
- → What temperature should the drip be for best results?
Cool the white chocolate drip until slightly warm and pourable—thick enough to hold but fluid enough to run slowly. Test on the edge of a chilled bowl before applying to the cake to control drip length.
- → How do I make the gold paint safe and shiny?
Use edible gold luster dust mixed with a small amount of vodka or clear lemon extract to create a paint. Apply to set drip with a clean food-safe brush. Ensure the luster dust is labeled edible, not metallic craft dust.
- → What is the best way to store and serve the cake?
Store refrigerated in an airtight container for up to 2–3 days. Bring to room temperature for 30–60 minutes before serving for optimal texture and flavor. Keep decorated cake away from heat and direct sunlight.