 Save
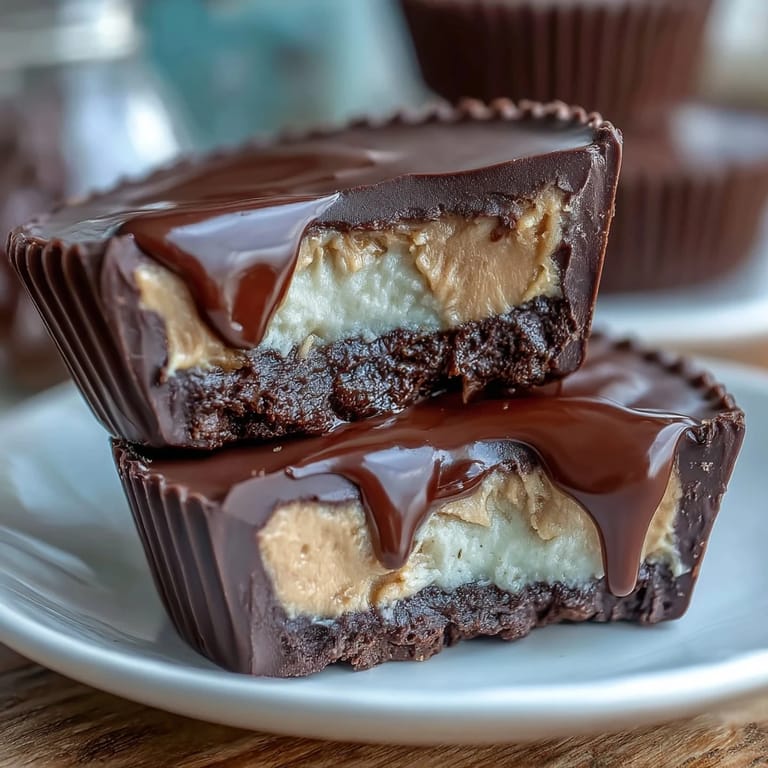
Save Last summer, I was scrolling through my phone at my desk when a coworker unwrapped what looked like a homemade candy—creamy, chocolate-covered, impossibly good. She mentioned Greek yogurt as the secret ingredient, and something clicked. That afternoon, I started experimenting with layering chocolate, peanut butter, and tangy yogurt into little cups, and somehow created the perfect afternoon snack that actually felt virtuous to eat.
I brought a batch to a hiking trip last spring, and watching people's faces when they realized these weren't store-bought candy was worth every minute of prep. One friend asked if I was selling them—I wasn't, but the compliment stuck with me through the whole trail.
Ingredients
- Dark chocolate (200 g, 70% cocoa or higher), chopped: High cocoa percentage gives you richness without cloying sweetness, and it sets firmer when chilled, creating that satisfying snap.
- Coconut oil (1 tbsp): This keeps the chocolate pourable and helps it set smoothly without becoming brittle—learned this after my first batch cracked like old leather.
- Natural peanut butter (120 g): The kind where oil floats on top means no weird additives, just pure ground peanuts that taste like they came from somewhere real.
- Honey or maple syrup (2 tbsp total): Either works beautifully—honey adds floral notes while maple brings earthiness, so choose based on your mood.
- Vanilla or unflavored whey protein powder (1 scoop, about 30 g): Vanilla makes the whole thing taste like a dessert; unflavored keeps the focus on the chocolate and peanut butter.
- Thick Greek yogurt (180 g, full-fat or 2%): Full-fat yogurt creates that creamy center that makes people pause mid-bite, so don't skimp on the fat content.
- Vanilla extract (1 tsp): A small amount brightens the yogurt layer without overpowering it.
- Salt (pinch): Salt amplifies sweetness in an almost magical way, making every layer taste more like itself.
Tired of Takeout? 🥡
Get 10 meals you can make faster than delivery arrives. Seriously.
One email. No spam. Unsubscribe anytime.
Instructions
- Set up your workspace:
- Line your mini muffin tin with paper liners and gather everything within arm's reach. This matters more than you'd think because once chocolate starts cooling, you're racing against time.
- Melt the chocolate with intention:
- Combine chopped chocolate and coconut oil in a microwave-safe bowl, heating in 30-second bursts and stirring between each one. You'll notice the chocolate looking almost grainy at first, then suddenly smooth and glossy—that's your signal it's ready.
- Create the chocolate base:
- Spoon about a teaspoon of melted chocolate into each liner and use the back of the spoon to gently spread it up the sides, creating a little chocolate cup. Freeze for exactly 10 minutes—enough time to set but not so long that the next layer won't stick.
- Mix the peanut butter layer:
- Stir peanut butter, protein powder, and honey together until the mixture is completely smooth with no powder streaks. The protein powder can get lumpy if you're not patient, but a minute of careful stirring fixes everything.
- Prepare the Greek yogurt center:
- Combine yogurt, honey, vanilla, and salt in a separate bowl, stirring until creamy and uniform. This layer is delicate, so treat it gently—aggressive stirring breaks down the yogurt's structure.
- Layer the middle:
- Pull the tin from the freezer and place about a teaspoon of peanut butter mixture on each chocolate base, gently flattening with the back of a spoon. Immediately add a teaspoon of yogurt mixture on top and flatten again, working quickly so nothing starts to melt.
- Seal the top:
- Cover each cup with the remaining melted chocolate, spreading it to completely seal the layers beneath. This final chocolate layer holds everything together and creates that satisfying snap when you bite through.
- Chill until firm:
- Freeze for at least an hour, though overnight is even better if you have the patience. They'll be perfectly frozen and ready to store in the refrigerator for up to a week.
 Save
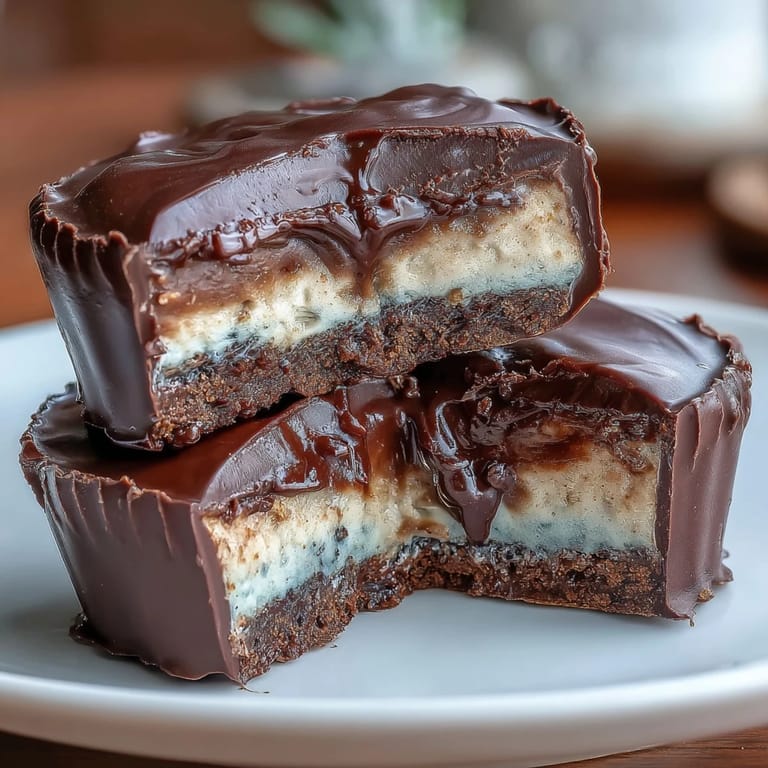
Save There's something oddly satisfying about peeling back that paper liner and seeing three perfect layers stacked inside—proof that something seemingly complicated actually works when you follow the rhythm. My daughter started requesting these for her lunchbox, and suddenly these little cups became part of our weekly routine.
Smart Ingredient Swaps
If peanuts aren't in your world, almond butter or sunflower seed butter slide in seamlessly—they bring their own quiet flavors without changing the technique. For lower sugar, swap honey with stevia or monk fruit sweetener, though you might want to taste as you go since some of these substitutes have surprising sweetness curves. I've even tried tahini once when I was out of peanut butter, and while it tasted completely different, it was unexpectedly delicious in its own nutty way.
Why These Proportions Matter
The ratios here aren't arbitrary—they're built on the idea that each layer should be about the same thickness, creating balanced bites instead of chocolate-heavy bombs. Too much peanut butter makes the middle layer slide around, while too much yogurt creates a mushy center that loses its personality. After a few batches, you'll develop a feel for what works in your kitchen, and that's when the real tinkering begins.
Beyond the Basic Recipe
Once you've made these a few times, the door opens to endless variations. A sprinkle of sea salt on top before freezing creates this sophisticated sweet-salty moment, while a tiny pinch of cayenne in the peanut butter layer adds an almost imperceptible warmth. Some people swirl in a tiny bit of jam, others add crushed nuts or coconut flakes for texture—the structure holds firm while you play.
- Try pressing a whole hazelnut into the center before sealing the chocolate top for unexpected luxury.
- Dust with cocoa powder right before serving if you want them looking like little professional chocolates.
- Keep them in the freezer longer than an hour if you prefer them rock-hard and more like traditional candy bars.
 Save
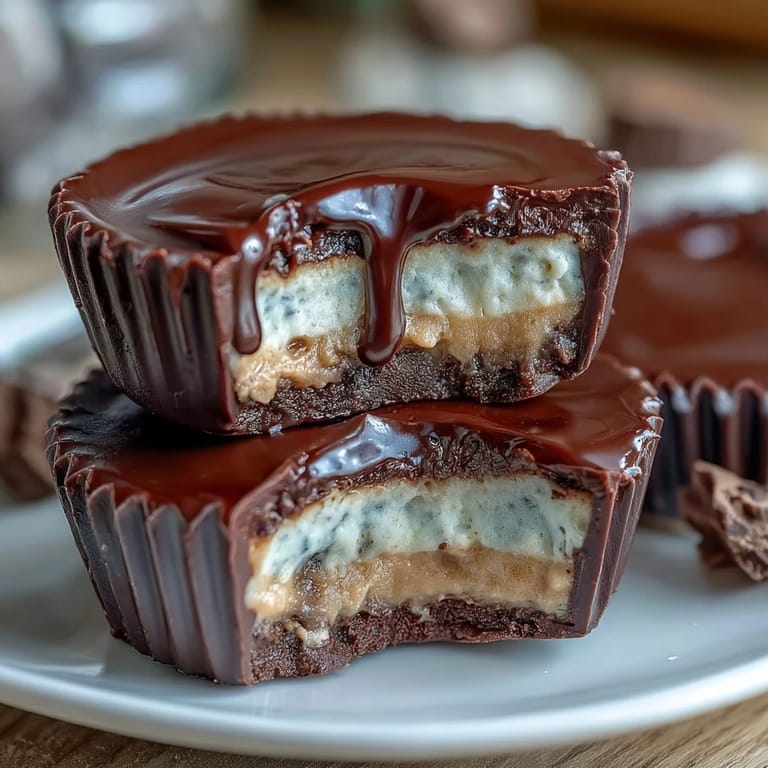
Save These cups have become my answer to that 3 p.m. slump when you want something that tastes indulgent but feels nourishing. They're proof that healthy eating doesn't mean sacrifice—it just means getting a little creative in your kitchen.
Recipe FAQs
- → Can I substitute peanut butter for allergies?
Yes, almond or sunflower seed butter works well as an alternative to peanut butter for allergy concerns.
- → What type of chocolate is best to use?
Dark chocolate with 70% cocoa or higher provides a rich flavor and complements the peanut butter layers perfectly.
- → How do I store these peanut butter cups?
Keep them chilled in the refrigerator to maintain firmness and freshness for several days.
- → Is it possible to make a lower sugar version?
Yes, substituting honey or maple syrup with stevia or sugar-free syrup reduces sugar content while retaining sweetness.
- → What role does Greek yogurt play in these cups?
Greek yogurt adds a tangy, creamy contrast and boosts protein, contributing to a balanced texture and flavor.