 Save
Save My daughter spotted a bunny hopping through our garden last spring, and for weeks afterward, she insisted on bunny-shaped everything—plates, stickers, drawings. When Easter rolled around, I realized the perfect way to capture that magic was through a cake. The moment I shaped those two cake halves into ears and watched her eyes light up at the kitchen table, I understood this wasn't just dessert—it was a little edible memory we could share together.
That Easter morning, my hands were moving almost on autopilot—frosting the body, positioning those ears, pressing the coconut on in fuzzy layers. My son wandered into the kitchen halfway through and just stood there watching, completely mesmerized by the bunny slowly coming to life. By the time I placed that pink jelly bean tail, the whole family had gathered around like we were witnessing something genuinely magical, not just cake decorating.
Ingredients
- All-purpose flour: The foundation of a tender, reliable cake—make sure yours is fresh and avoid over-sifting, which can make the crumb tough.
- Baking powder and baking soda: These two create the right rise and tender crumb; measure them carefully because too much leads to a bitter taste.
- Unsalted butter: Softened to room temperature is non-negotiable here—cold butter won't cream properly and you'll lose that light, fluffy texture.
- Granulated sugar: This creates structure and helps the cake stay moist; don't skip the creaming step, as it's where the magic begins.
- Eggs at room temperature: Cold eggs don't incorporate smoothly into the batter, so pull them out of the fridge about 30 minutes before baking.
- Vanilla extract: A small amount goes a long way, and quality matters more than quantity here.
- Whole milk: It keeps the cake tender and creates that homemade texture store-bought versions can't quite match.
- Powdered sugar for frosting: Sift it before using to prevent lumps that'll make your frosting gritty.
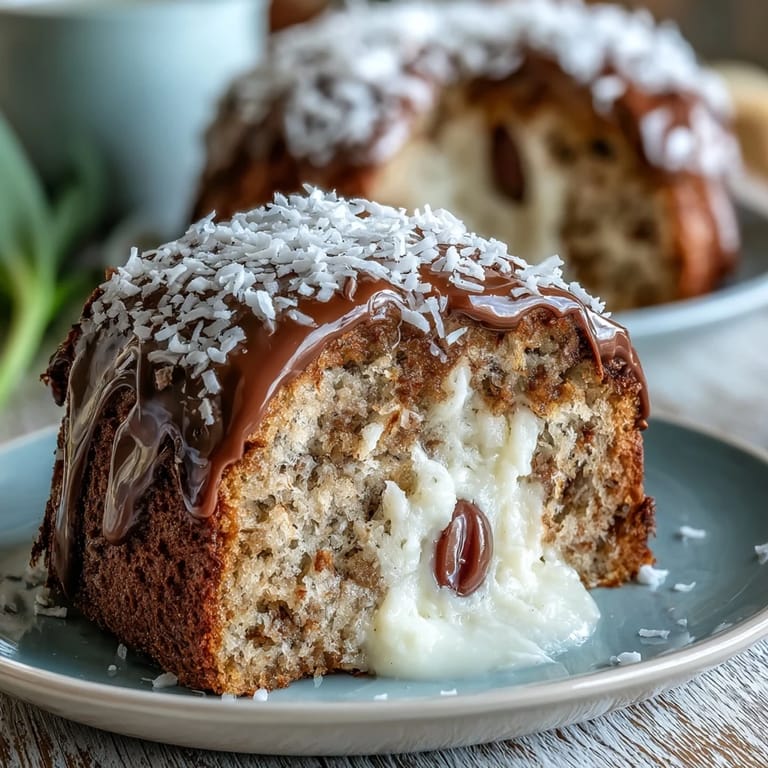
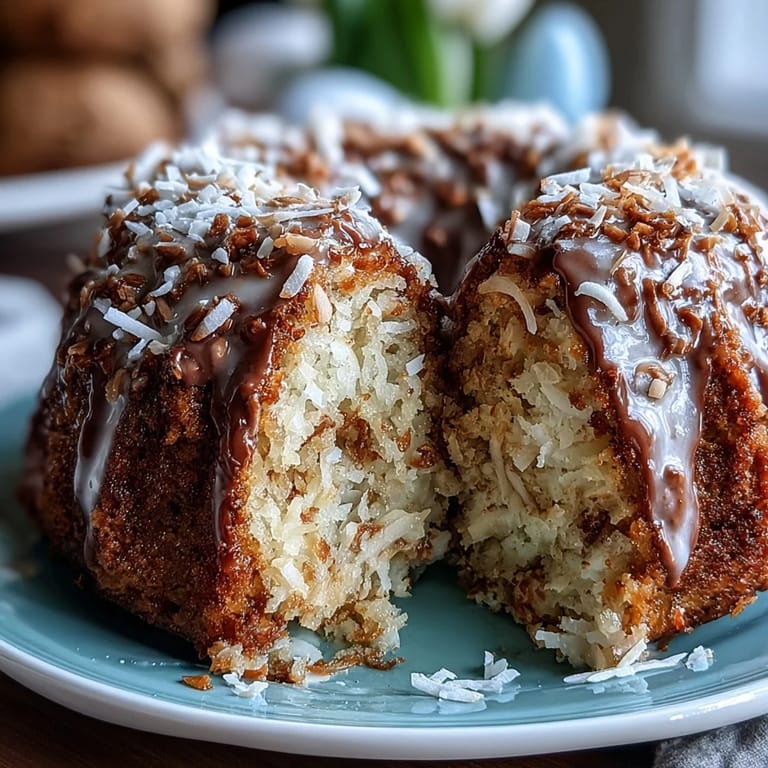
- Sweetened shredded coconut: The star of the visual show—it gives that fluffy bunny fur texture and a subtle coconut flavor.
- Jelly beans for decoration: Pick them carefully; larger ones work best for the tail and paws, and they should be slightly stale so they don't slide around on wet frosting.
- Chocolate chips or black jelly beans for eyes: Mini chocolate chips hold their shape better during storage, but black jelly beans add a playful touch.
Tired of Takeout? 🥡
Get 10 meals you can make faster than delivery arrives. Seriously.
One email. No spam. Unsubscribe anytime.
Instructions
- Prepare your workspace:
- Preheat the oven to 350°F while you grease and flour both cake pans thoroughly—use the flour-and-butter method rather than cooking spray for better cake release. A dry pastry brush works perfectly for getting flour into all the corners.
- Build the dry base:
- In a medium bowl, whisk together flour, baking powder, baking soda, and salt—this aerates the flour and distributes the leavening agents evenly. I always whisk for about one full minute to make sure there are no hidden pockets of baking soda.
- Cream the butter and sugar:
- In a large bowl, beat the softened butter and sugar together for about 3 to 4 minutes until it looks pale and fluffy, like a cloud you could actually touch. This step is crucial; it incorporates air into the batter that creates a tender crumb.
- Incorporate the eggs:
- Add eggs one at a time, beating well after each addition to ensure they're fully incorporated before the next one goes in. This prevents the batter from looking curdled or separated.
- Add the vanilla:
- Pour in the vanilla extract and mix until just combined; the batter should smell like spring at this point.
- Alternate wet and dry ingredients:
- Add about one-third of the flour mixture, then half the milk, then another third of flour, then the remaining milk, finishing with the last of the flour—this order prevents overmixing and keeps the cake tender. Mix on low speed, stopping to scrape the bowl, and never mix longer than necessary.
- Bake the layers:
- Divide the batter evenly between the pans and bake for 30 to 35 minutes, until a toothpick inserted in the center comes out clean or with just a few crumbs. Don't open the oven door until at least 28 minutes have passed—I learned this lesson the hard way.
- Cool with patience:
- Let the cakes rest in their pans for 10 minutes (this prevents them from falling apart), then turn them out onto a wire rack to cool completely before assembling. Warm cake crumbles; cold cake sculpts beautifully.
- Make the frosting:
- Beat softened butter until creamy, then gradually add sifted powdered sugar a cup at a time, scraping the bowl often. Add vanilla and milk a tablespoon at a time until you reach a consistency that's spreadable but still holds its shape.
- Sculpt the bunny body:
- Place one whole cake round on your serving platter as the bunny's body. Cut the second round in half and stand both semicircles upright at one end, positioning them so they lean slightly outward to resemble ears or a bunny's back and head.
- Carve and attach the features:
- From the remaining cake pieces, carefully cut two ear shapes and two paw shapes using a serrated knife—trust the knife more than your hands here, and cut slowly. Use frosting as edible glue to secure these pieces to the body.
- Frost generously:
- Cover the entire bunny sculpture with frosting, using an offset spatula to create soft, wave-like texture that will hold the coconut beautifully. Don't be shy—thick frosting becomes the bunny's padding.
- Add the coconut fur:
- Press shredded coconut firmly into the frosting over the entire cake, working in sections so the coconut doesn't fall off. The fuller and fluffier you make it, the more authentic the bunny will look.
- Place the finishing touches:
- Add the pink jelly bean tail, white jelly beans as paws, pink jelly beans as paw pads, and chocolate chips or black jelly beans as eyes. If using food coloring, tint a bit of extra coconut pink and sprinkle it on the ears for extra character.
- Chill before serving:
- Refrigerate the finished bunny for at least an hour so the frosting and decorations set firmly. This also makes it easier to transport if you're bringing it somewhere special.
 Save
Save Hours later, after we'd sung happy birthday and eaten our slices, I found my younger son carefully studying the bunny's face, turning his plate to look at it from different angles. He suddenly announced that the bunny looked happy, like it was secretly pleased with itself for being made of cake. That's when I realized this recipe had done what I'd hoped—it had transformed an ordinary Easter into a story we'd still be telling months later.
Flavor Variations to Keep It Interesting
The vanilla cake is perfect for purists, but I've experimented with adding a teaspoon of almond extract or lemon zest to the batter, which creates subtle depth without overshadowing the coconut decoration. One spring I added a quarter-teaspoon of almond extract and the entire cake took on an almost marzipan quality that paired beautifully with the jelly bean details. The frosting stays classic and white, letting the cake's flavor shine through while the decoration does the visual work.
Assembly and Decoration Timing
The biggest mistake I made early on was trying to assemble the bunny while the cakes were still slightly warm—the pieces wouldn't stick properly and the whole structure felt precarious. I've learned to bake the layers the day before, refrigerate them overnight, and assemble the bunny the morning of serving when everything is firm and cooperative. The assembly itself takes about 20 minutes once you have all your pieces cut, and the frosting-and-coconut stage is where you can really let creativity take over.
Shortcuts and Smart Substitutions
If you're short on time, there's absolutely no shame in using a quality boxed cake mix—it bakes in the same pans and works perfectly with homemade frosting for a genuinely impressive result. For gluten-free versions, I've had reliable success swapping in a 1-to-1 gluten-free flour blend without changing any other measurements. The coconut fur is forgiving enough that slight imperfections in the cake shape disappear once you frost and decorate, so don't stress about having perfectly level layers.
- Store-bought frosting mixed with a bit of homemade butter makes a frosting that's easier to work with while still tasting special.
- Toasted coconut creates a richer flavor and slightly different visual texture if you want to feel adventurous.
- Jelly beans or small candies can be pressed into the frosting before the coconut layer if you want hidden treats throughout.
 Save
Save This bunny cake has become our family's Easter tradition, and every year it gets a little easier and feels a little more special. Whether it's your first time making it or your fifth, there's something joyful about creating something so whimsical from flour and butter.
Recipe FAQs
- → How do I achieve the coconut fur texture?
After frosting the cake, press sweetened shredded coconut gently onto the surface to create a fluffy, fur-like appearance.
- → What kind of jelly beans work best for decoration?
Use colorful jelly beans that are firm and small enough to attach easily, such as for tail and paws accents.
- → Can I prepare this cake ahead of time?
Yes, assemble and decorate the cake a few hours before serving and store it refrigerated to maintain freshness.
- → Is there a way to add extra flavor to the batter?
Adding a teaspoon of lemon or almond extract to the cake batter can enhance the flavor without overpowering the sweetness.
- → What temperature and time should I bake the cake layers?
Bake at 350°F (175°C) for 30 to 35 minutes, or until a toothpick inserted in the center comes out clean.